2. Import and execute a job
Requirements
You are an ADMIN user on your account.
What you will learn
Import and run a Job in Product-Live
Import a job
This first job will import a table schema and some items. A Job is a zip file containing the definition of the task that must be executed. Before learning more about jobs, first go to https://settings.product-live.com
Then go to Data Factory/Jobs
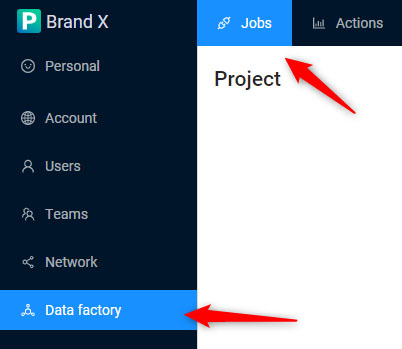
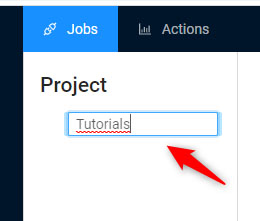
On the Project panel, right click and create a category project named Tutorials, and click on Tutorials folder.
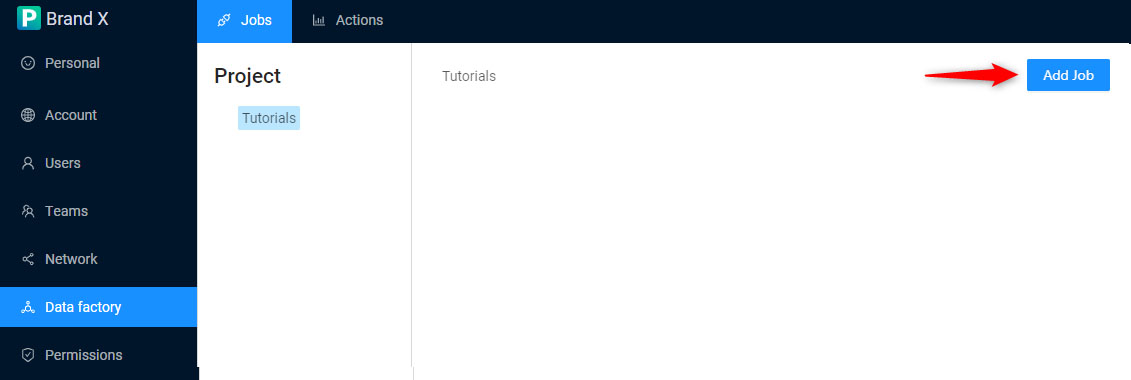
Then click on the button Add job
Then click this link to download the job that will be imported.
Then drag and drop the zip file of the packaged job in the drop zone and fill the form like below:
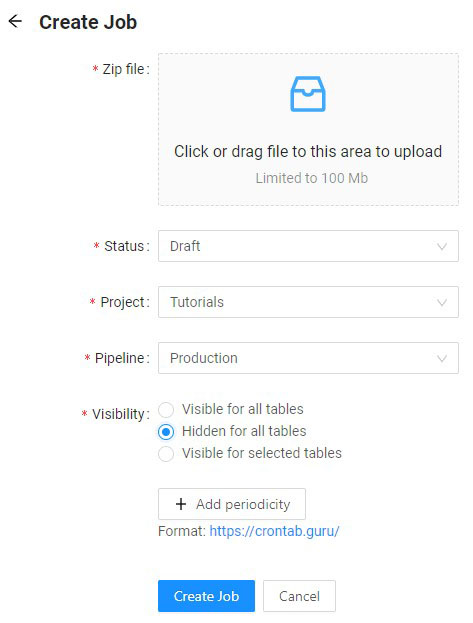
For Visibility, select Hidden for all tables, the job will be only visible by admins in settings.
Best pratice
When you are developing a job, set the status to Draft and when it is ready for production, set the status to Production. Later when you will have to monitor several jobs in production, and you will have to detect jobs in error, it will allow to simply filter Jobs in status Production and Error, without the draft ones.
Then click on the button Create job to save the job.
Run a job
Simply click on Run on the job you just have created.

This will open the Actions tab, then click on the job you just have started this will open the execution tab

Here you can view all the execution details. You can click on each task to view all events log.
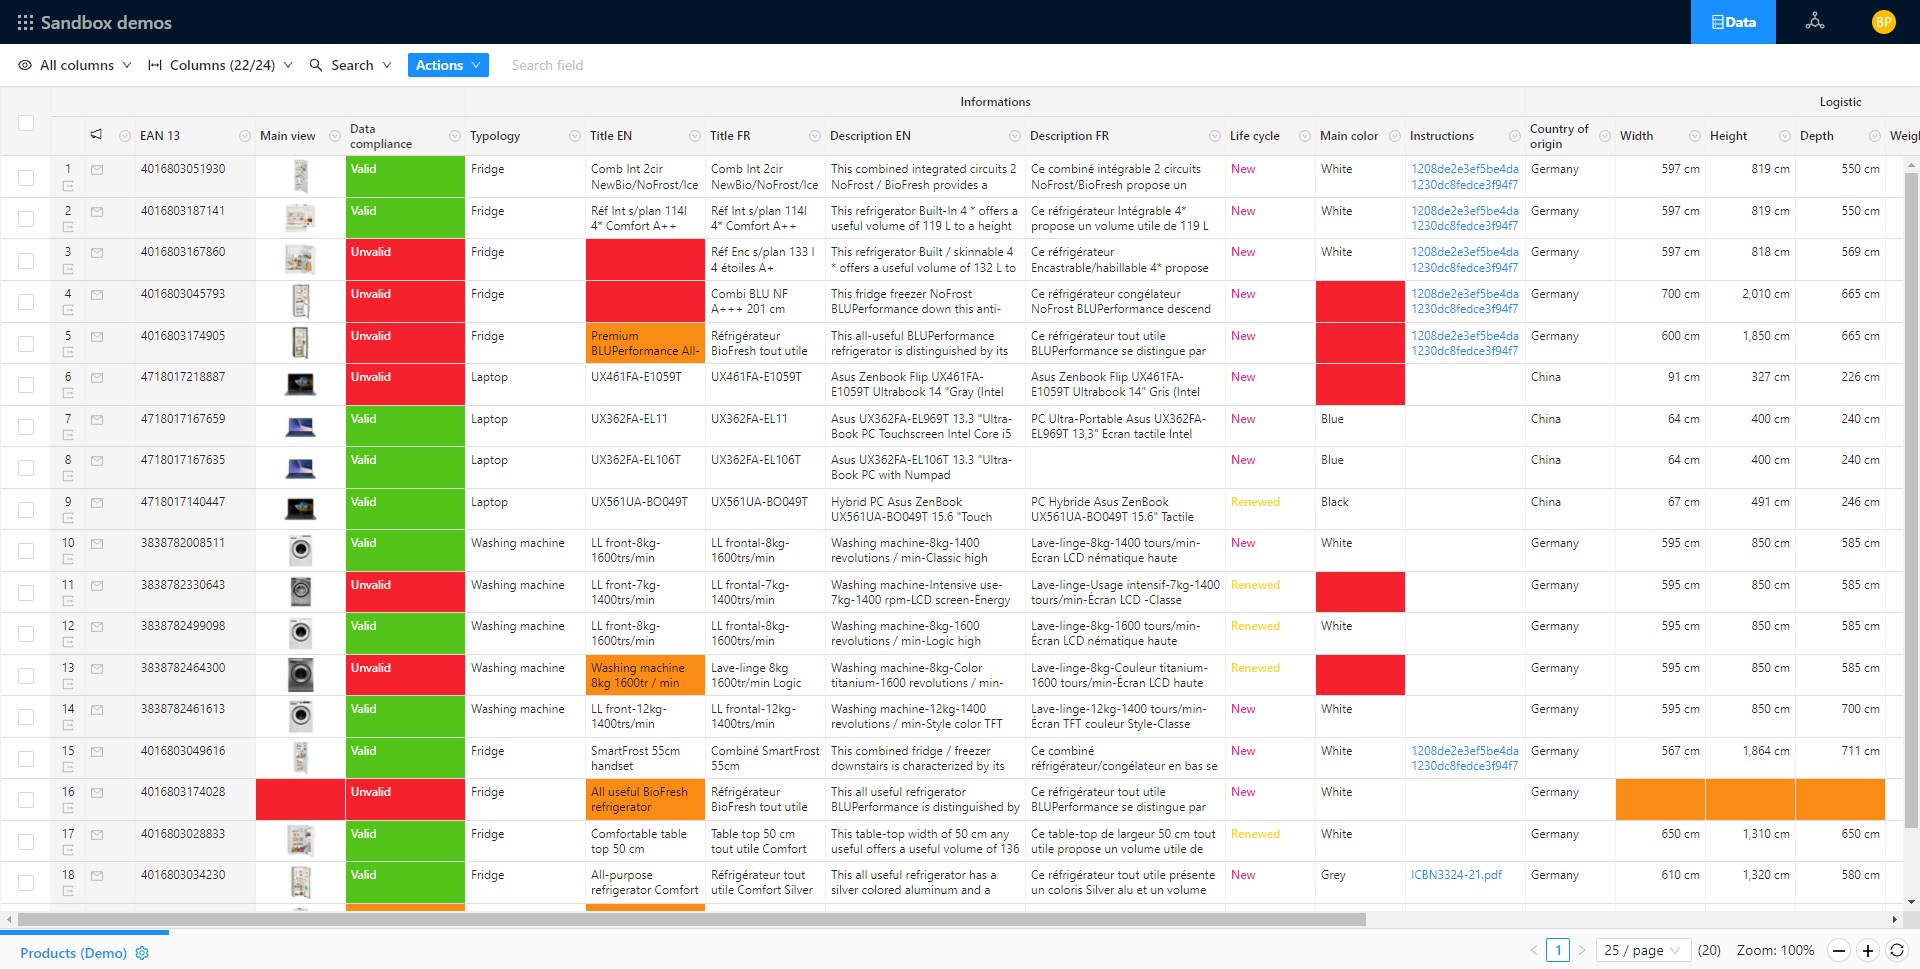
When the job has finished in success go to https://app.product-live.com, you should have a Products (Demo) table.
What you have learned
Jobs are zip files and can be imported and executed in https://settings.product-live.com
Next
You will learn to Create your first job