Data Factory Use Cases
Create items using the Data Factory API and a JSON file as an input
Using Data Factory and the Data factory API, you can create items in a Product-Live table. The key advantages of this method are:
- You can create items in a Product-Live table in a programmatic way, using the data format of your choice (XML, JSON, json, Excel, etc.).
- You can create a large number of items in a Product-Live table in a single operation, and monitor import progress in real time using the Data Factory API.
Takeaway
In this example, we will create items in a Product-Live table using a JSON file. The data factory job is available is available for download here and the JSON file is available here. This example is based on a demo table structure.
Prerequisites
To execute this use case, you need:
- A Product-Live account with access to the Data Factory platform
- A Product-Live table with a structure that matches the data you want to import. In this example, we will use a demo table structure.
Setup
- Use the Demo Table Job Importer to create a simple structure that we will use to import data. The structure is available here. To do so, simply import the job in your Produc-Live account and execute it
- Create the Demo Import Items Job that we will use to import items in the table. The job is available here. To do so, simply import the job in your Produc-Live account. If you intend to use it to import data on the previously created demo structure, no additional modifications required
Execution
To do so, we will use the Data Factory API to trigger the job execution.
Before we begin
Before you start, you'll need a valid API key. If you don't have one, simply go to the API tab of the settings.prodyct-live.com application and create one.
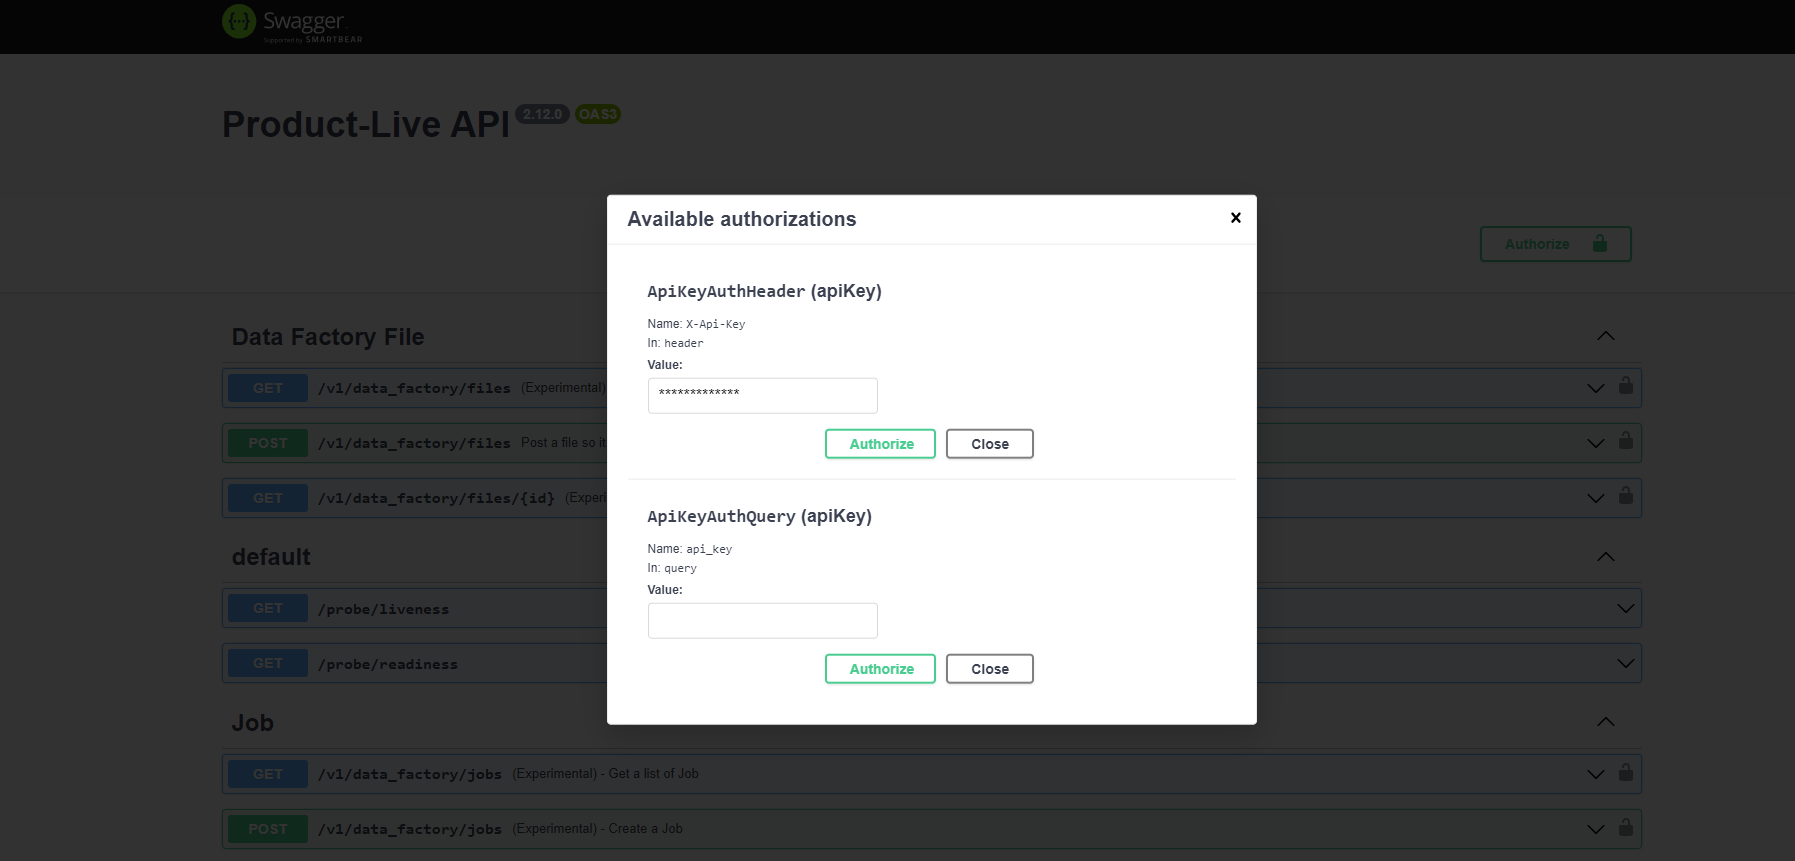
- Open the online API documentation, fill in your API key and click on the "Authorize" button
- Retrieve the JSON file that contains the data we want to import. The file is available here, fill the
/v1/data_factory/filesform and hit the "Execute" button
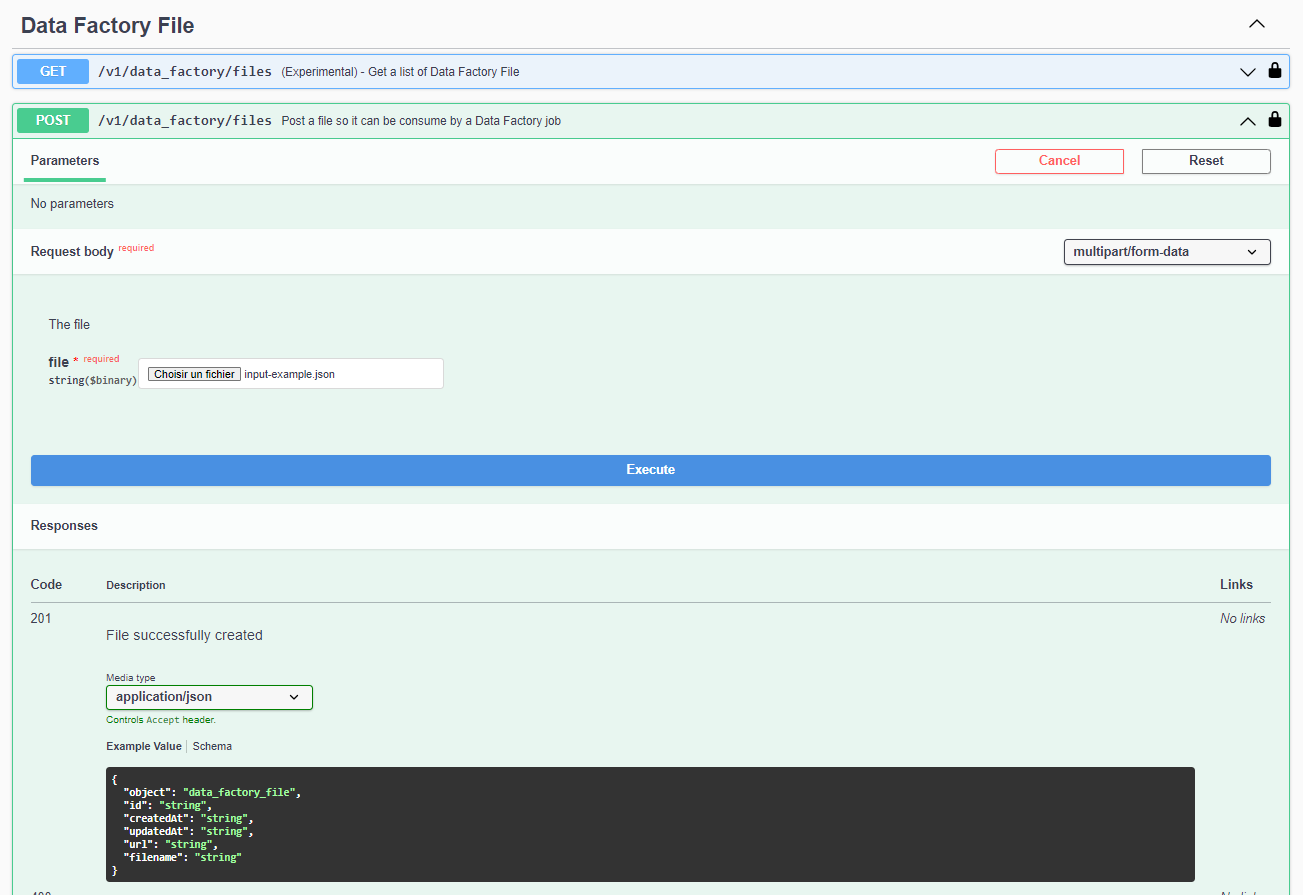
You should have in response a 201 HTTP status code and a response as follows:
json
{
  "object": "data_factory_file",
  "id": "<redacted>",
  "createdAt": "2023-08-11T13:33:48.454Z",
  "updatedAt": "2023-08-11T13:33:48.453Z",
  "url": "<redacted>",
  "filename": "input-example.json"
}
1
2
3
4
5
6
7
8
2
3
4
5
6
7
8
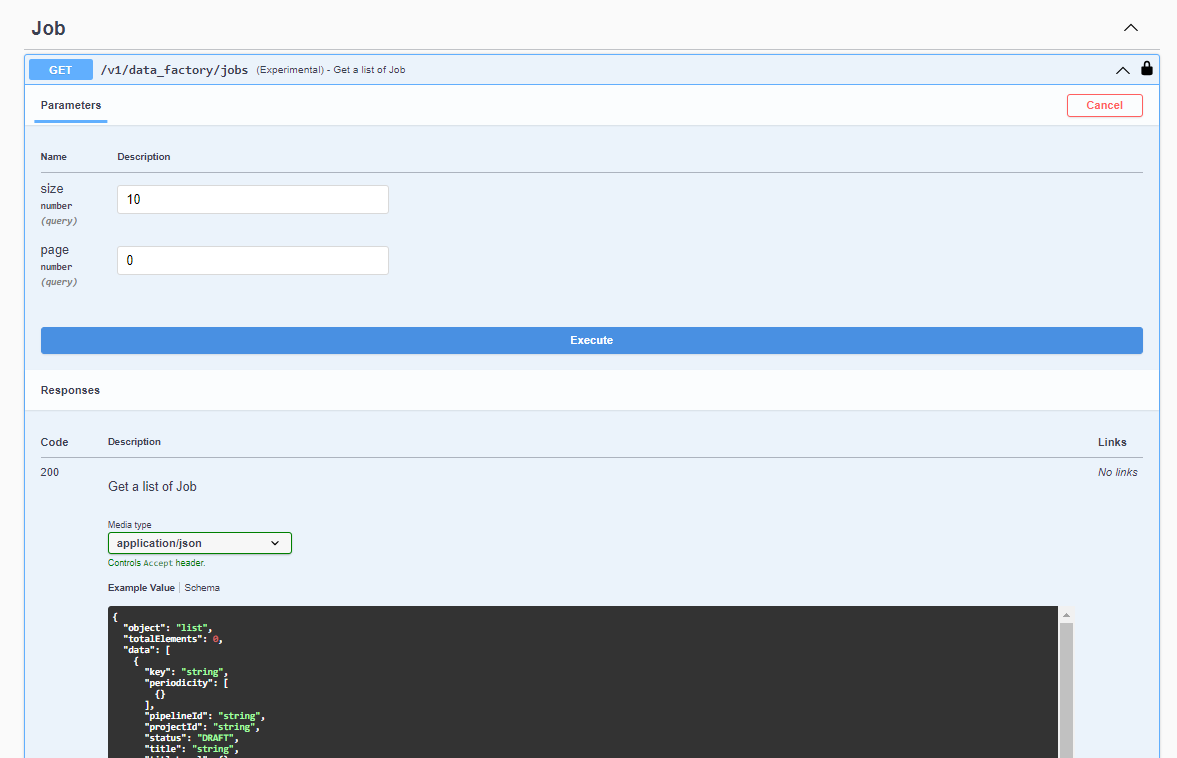
- Optional - Fetch the unique identifier of the job you previously created to create items. To do so execute the
/v1/data_factory/jobsaction.
- Using the JSON retrieved in step 2, and your job's unique identifier retrieved in step 3, build the JSON below and use the
/v1/data_factory/job_executionsaction to launch your import job.
json
{
 "jobId": "<the unique id of your job>",
 "info": {
  "title": "Execute an item import job - 2 items to import"
 },
 "input": {
  "file": {
   "object": "data_factory_file",
   "id": "<redacted>",
   "createdAt": "2023-08-11T13:33:48.454Z",
   "updatedAt": "2023-08-11T13:33:48.453Z",
   "url": "<redacted>",
   "filename": "input-example.json"
  }
 }
}
1
2
3
4
5
6
7
8
9
10
11
12
13
14
15
16
2
3
4
5
6
7
8
9
10
11
12
13
14
15
16
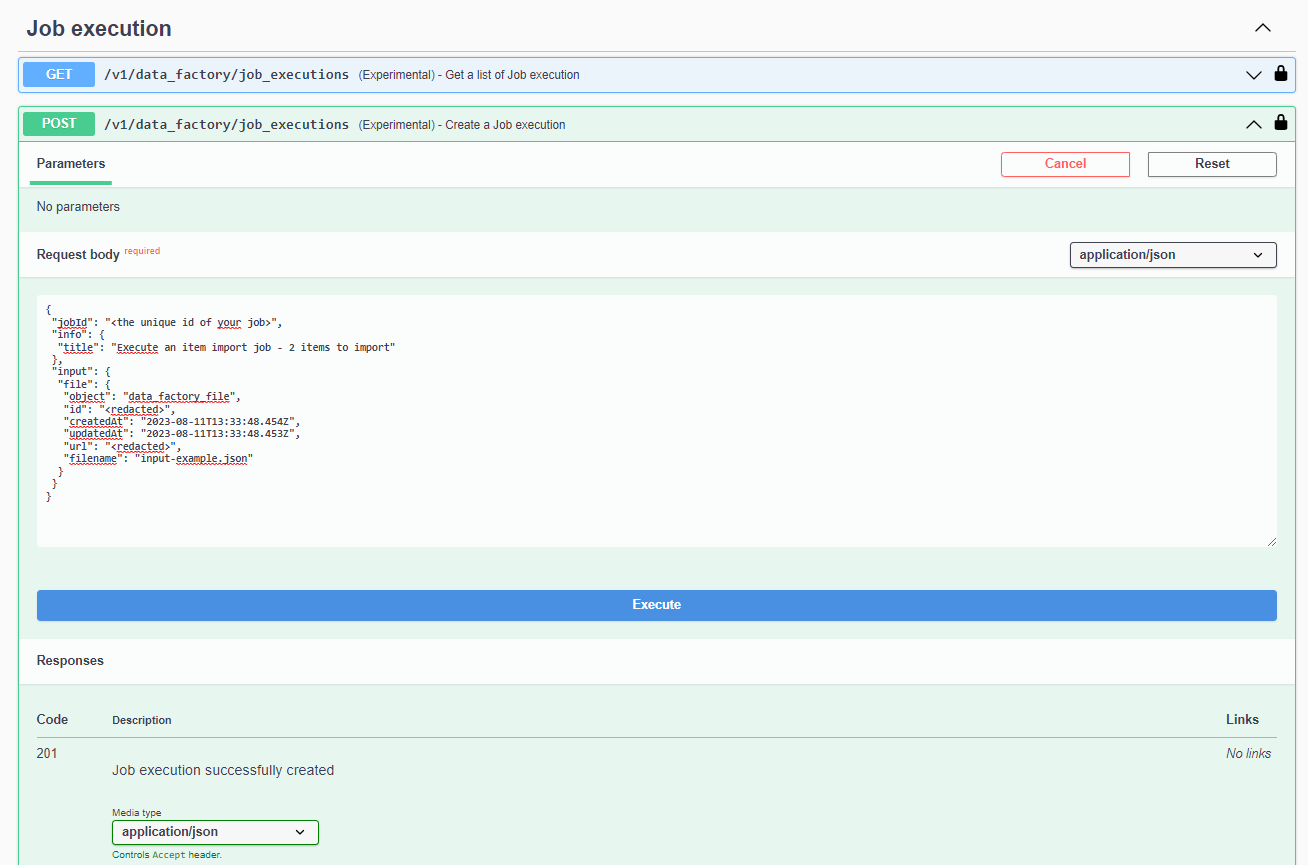
- You should have in response a
201HTTP status code and a response as follows:
json
{
  "object": "job_execution",
  "jobId": "<redacted>",
  "id": "<redacted>",
  "pipelineId": "<redacted>",
  "createdAt": "2023-08-11T13:54:18.883Z",
  "input": {
    "file": {
      "object": "data_factory_file",
      "id": "<redacted>",
      "createdAt": "2023-08-11T13:33:48.454Z",
      "updatedAt": "2023-08-11T13:33:48.453Z",
      "url": "<redacted>",
      "filename": "input-example.json"
    },
    "context": {
      "jobAccountId": "<redacted>",
      "jobId": "<redacted>",
      "userAccountId": "<redacted>",
      "userId": "<redacted>"
    }
  },
  "startedAt": "2023-08-11T13:54:18.836Z",
  "status": "RUNNING",
  "output": {},
  "info": {
    "title": "Execute an item import job - 2 items to import"
  }
}
1
2
3
4
5
6
7
8
9
10
11
12
13
14
15
16
17
18
19
20
21
22
23
24
25
26
27
28
29
2
3
4
5
6
7
8
9
10
11
12
13
14
15
16
17
18
19
20
21
22
23
24
25
26
27
28
29
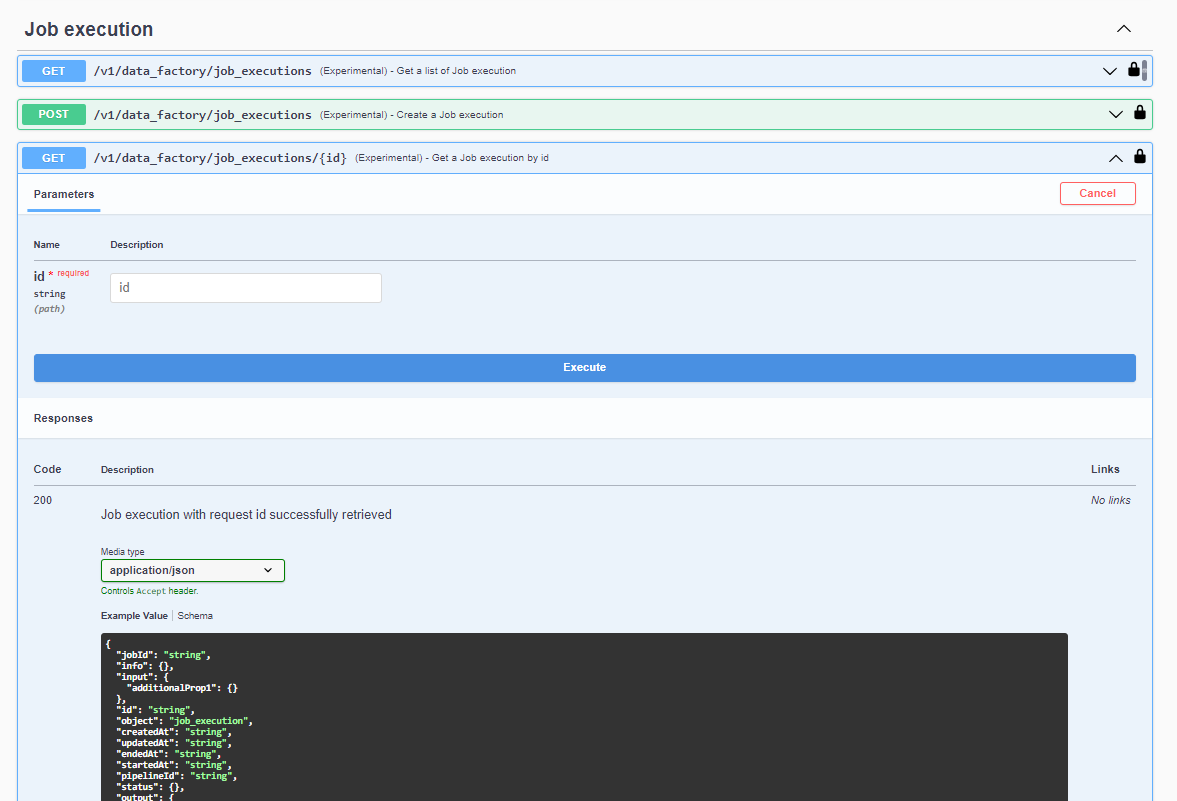
- You can now retrieve the progress of your job at any time using the job execution id retrieved in the previous step. To do so, use the
/v1/data_factory/job_executions/{id}action and you'll eventually get a response in success as below:
json
{
  "object": "job_execution",
  "jobId": "<redacted>",
  "id": "<redacted>",
  "pipelineId": "<redacted>",
  "createdAt": "2023-08-11T11:53:21.932Z",
  "endedAt": "2023-08-11T11:53:43.124Z",
  "input": {
    "file": {
      "object": "data_factory_file",
      "id": "<redacted>",
      "createdAt": "2023-08-11T13:33:48.454Z",
      "updatedAt": "2023-08-11T13:33:48.453Z",
      "url": "<redacted>",
      "filename": "input-example.json"
    },
    "context": {
      "jobAccountId": "<redacted>",
      "jobId": "<redacted>",
      "userAccountId": "<redacted>",
      "userId": "<redacted>"
    }
  },
  "startedAt": "2023-08-11T11:53:21.884Z",
  "status": "COMPLETED",
  "output": {
    "report": {
      "object": "data_factory_file",
      "id": "<redacted>",
      "createdAt": "2023-08-11T13:33:48.454Z",
      "updatedAt": "2023-08-11T13:33:48.453Z",
      "url": "<redacted>",
      "filename": "report.xml"
    }
  },
  "info": {
    "title": "Execute an item import job - 2 items to import"
  }
}
1
2
3
4
5
6
7
8
9
10
11
12
13
14
15
16
17
18
19
20
21
22
23
24
25
26
27
28
29
30
31
32
33
34
35
36
37
38
39
2
3
4
5
6
7
8
9
10
11
12
13
14
15
16
17
18
19
20
21
22
23
24
25
26
27
28
29
30
31
32
33
34
35
36
37
38
39
Sequence diagram
The sequence diagram below describes the interactions between the different components of the platform when a job is triggered.
mermaid
sequenceDiagram
    participant app as Tierce Application
    participant api as Product-Live Data Factory API
    participant df as Data Factory Infrastrure
    app ->> api: Trigger job run
    api -->>app: Api responds with a 201 OK
    par
        loop "As long as tasks remain to be processed"
            api --> api: The next task is placed in a queue, to be handled by the platform
            api ->> df: The order is transmitted to the Data Factory infrastructure
            df -->> df: The task is processed
            df -->> api: The result produced is returned to be stored for later use
        end
    and
        loop "Every minute, while job is in progress"
            app ->> api: Job progress recovery
            api -->>app: Api responds with the job progress
        end
    end
Data Factory Job details
TIP
The job presented here is very basic and is intended to illustrate the process of creating items using a Data Factory job triggered by an API. It can be enhanced and enriched to suit your needs. For more information, please refer to the Data Factory platform documentation.
mermaid
flowchart TD
	_start(("Start"))
	_end(("End"))
	file_transformation_xslt["<b><a href='/data-factory/references/tasks/file-transformation-xslt/'>file-transformation-xslt</a></b><br />Transform XML into a valid item XML file"]
	table_import_items["<b><a href='/data-factory/references/tasks/table-import-items/'>table-import-items</a></b><br />Import items"]
	_start --> file_transformation_xslt
	file_transformation_xslt --> table_import_items
	table_import_items --> _end