Images API
Info
This Images API version replaces the Images API version 1. The version 1 is deprecated and will be removed in the future.
What is the purpose of the Images API?
The Images API enables users to modify images obtained from Product-Live by performing operations such as resizing, format conversion, adjusting quality, and other similar actions. This functionality eliminates the need for manual manipulation of individual images.
Why and when to use the Images API?
The image API is useful in the following cases:
- To optimize images for web use
- To convert images into a specific format
- To resize images
- To convert pdf into images to fill products media
- To transform images according to the target system where they will be stored (change format, resize, change quality, etc.)
- To crop images to extract a specific part of it
- To add a watermark to images
- To add a QR code to images
- And many more...
Use cases
Use case example using the Images API to resize images and optimize them for web use
For this example, we will use the below image:

Technical details:
- Format: JPEG
- Size: 103 Ko
- Dimensions: 1000 x 1000 pixels
To fasten the loading of this image on a website, we will resize it to 500 x 500 pixels and use the webp format. To perform this operation, we simply need to call the Images API with the following parameters:
width: 500rs:fit:500:500: To resize the image to 500 x 500 pixels while keeping the aspect ratio/format:webp: To convert the image to the webp format
The final image url will be:
text
https://asset.product-live.com/documents/5e691db029e7a3fa64c3ca5e/253d50c545e31097e194a10ab6be4e902494bfce868debe1e195d70314d786df/rs:fit:500:500/format:webp1

Final technical details:
- Format: webp
- Size: 38.2 Ko
- Dimensions: 500 x 500 pixels
Use case example using the Images API and Data Factory
Before you begin
This example requires even a superficial understanding of how the Data Factory platform works. Data Factory is a workflow orchestrator enabling you to manipulate the data in your Prodduct-Live account. Find out more information regarding the Data Factory platform, please refer to the dedicated page in our documentation.
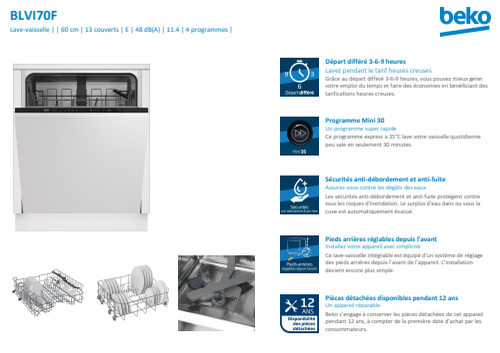
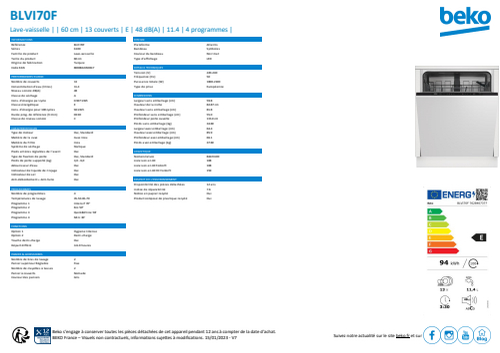
In this use case we will extract the product energetic-label from the product sheet pdf file, and store it in the appropriate media field.

Product sheet with energetic-label
1. Export products pdf file
First of all we will start by exporting the product sheet pdf file link. And to avoid exporting too many products, we filter only the items having a product sheet pdf file.
json
{
    "name": "table-export-items",
    "taskReferenceName": "table_export_items",
    "description": "Export items with product sheet pdf file",
    "type": "SUB_WORKFLOW",
    "optional": false,
    "inputParameters": {
        "tableKey": "PRODUCTS",
        "mode": "REQUEST",
        "request": "file://assets/filter.xml",
        "fileName": "items.xml",
        "partitions": ["ACTIVE"]
    }
}
1
2
3
4
5
6
7
8
9
10
11
12
13
14
2
3
4
5
6
7
8
9
10
11
12
13
14
xml
<Items-Request>
    <Filters>
        <Filter-Field-Image key="PRODUCT_SHEET" operator="NOT_EMPTY"/>
    </Filters>
    <Properties>
        <Field key="PRODUCT_SHEET" />
    </Properties>
</Items-Request>
1
2
3
4
5
6
7
8
2
3
4
5
6
7
8
With this task we have an export of all items having a product sheet pdf file like below:
xml
<Table key="PRODUCTS">
    <Items>
        <Item partition="ACTIVES"
            created="2019-04-10T13:40:23.83"
            updated="2019-04-10T13:40:23.83">
            <Identifier key="EAN_13">8690842450617</Identifier>
            <Field key="PRODUCT_SHEET"
                size-kb="374"
                file-hash="438c33ddebfe1f29122433c82b18cd29abdb2815e2912445a6c234a14fd5abdc"
                original-file-name="8690842450617.pdf"
                resource="https://asset.product-live.com/documents/5f0818d27ef6945715d9bbc7/438c33ddebfe1f29122433c82b18cd29abdb2815e2912445a6c234a14fd5abdc"
                md5="7E697417A190D2EA829F1817BEE29573">
                https://asset.product-live.com/file-map/5f0818d27ef6945715d9bbc7_documents/redirect/438c33ddebfe1f29122433c82b18cd29abdb2815e2912445a6c234a14fd5abdc
            </Field>
        </Item>
    </Items>
</Table>
1
2
3
4
5
6
7
8
9
10
11
12
13
14
15
16
17
2
3
4
5
6
7
8
9
10
11
12
13
14
15
16
17
2. Apply API transformation to energetic-label image
To set the transformation on the product sheet pdf file url, we use the generate item export and apply a xslt transformation (more details here). With this xslt transformation we will set the target energetic-label field with the transformed product sheet pdf file url.
json
{
    "name": "file-transformation-xslt",
    "taskReferenceName": "file_transformation_xslt",
    "description": "Set image url api transformation",
    "optional": false,
    "type": "SUB_WORKFLOW",
    "inputParameters": {
        "mode": "FILE",
        "file": "${table_export_items.output.file}",
        "xslt": "file://assets/apply_url_api_transformation.xslt",
        "fileName": "result.xml"
    }
}
1
2
3
4
5
6
7
8
9
10
11
12
13
2
3
4
5
6
7
8
9
10
11
12
13
The below transformation will:
- Set the product sheet pdf file url to extract a specific part of it and transform it:
/page:1to transform the second page (page index starts at 0)/ext:jpgconvert the pdf file tojpgformat/crop:115:215:soea:15:65crop the image to 115 pixels in height and 215 in weigth, at 155 pixels horizontally and 65 pixels vertically from the top left corner/rs:fit:150resize the image to 155 pixels in height and weigth, while keeping aspect ratio/quality:90reduce the image quality to 90% of the original quality
- Change the xml structure to set the target QR Code field with that url
xml
<xsl:stylesheet xmlns:xsl="http://www.w3.org/1999/XSL/Transform"
    xmlns:fn="fn"
    xmlns:pl="http://product-live.com"
    xmlns:xs="http://www.w3.org/2001/XMLSchema" version="3.0" exclude-result-prefixes="xs fn pl">

    <xsl:output method="xml" indent="yes" encoding="UTF-8" cdata-section-elements="" />

    <xsl:param name="attributeSourceKey" select="PRODUCT_SHEET" />
    <xsl:param name="attributeTargetKey" select="IMAGE_VIEW_ENERGIE" />
    <xsl:param name="api_image_params" select="'page:1/ext:jpg/crop:115:215:soea:15:65/rs:fit:150/quality:90'" />

    <xsl:template match="/Table">
        <Table key="{@key}">
            <xsl:for-each select="Items/Item">
                <Item partition="ACTIVES">
                    <Identifier key="EAN_13">
                        <xsl:value-of select="Identifier[@key='EAN_13']"/>
                    </Identifier>

                    <xsl:variable name="sourceValue" select="Field[@key=$attributeSourceKey]" />
                    <xsl:if test="$sourceValue">
                        <xsl:variable name="transformedUrl" select="concat($sourceValue/@resource, '/', $api_image_params)" />
                        <Field key="{$attributeTargetKey}">
                            <xsl:value-of select="$transformedUrl"/>
                        </Field>
                    </xsl:if>
                </Item>
            </xsl:for-each>
        </Table>
    </xsl:template>
</xsl:stylesheet>
1
2
3
4
5
6
7
8
9
10
11
12
13
14
15
16
17
18
19
20
21
22
23
24
25
26
27
28
29
30
31
2
3
4
5
6
7
8
9
10
11
12
13
14
15
16
17
18
19
20
21
22
23
24
25
26
27
28
29
30
31
The transformation generates an output file as below:
xml
<Table key="PRODUCTS">
    <Items>
        <Item partition="ACTIVES">
            <Identifier key="EAN_13">8690842213915</Identifier>
            <Field key="IMAGE_VIEW_ENERGIE">
                https://asset.product-live.com/documents/5f0818d27ef6945715d9bbc7/438c33ddebfe1f29122433c82b18cd29abdb2815e2912445a6c234a14fd5abdc/page:1/ext:jpg/crop:115:215:soea:15:65/rs:fit:150/quality:90
            </Field>
        </Item>
    </Items>
</Table>
1
2
3
4
5
6
7
8
9
10
2
3
4
5
6
7
8
9
10
3. Import the energetic-label image
The transformation has defined the url of the energetic-label image. We can now update this information within the target products.
json
{
  "name": "table-import-items",
  "taskReferenceName": "table_import_items",
  "description": "Import the energetic-label image",
  "type": "SUB_WORKFLOW",
  "optional": false,
  "inputParameters": {
    "request": "${file_transformation_xslt.output.file}"
  }
}
1
2
3
4
5
6
7
8
9
10
2
3
4
5
6
7
8
9
10
Upon completion of the task, we have successfully extracted the energy label from the product sheet PDF file and applied it to the item.

How to acquire the URL of an image or attachment
- In the Export Items task, each images and attachment are exported as presented below:
xml
<Table key="PRODUCTS">
    <Items>
        <Item partition="ACTIVES"
            created="2019-04-10T13:40:23.83"
            updated="2019-04-10T13:40:23.83">
            <Identifier key="EAN_13">8690842450617</Identifier>
            <Field key="PRODUCT_SHEET"
                size-kb="374"
                file-hash="438c33ddebfe1f29122433c82b18cd29abdb2815e2912445a6c234a14fd5abdc"
                original-file-name="8690842450617.pdf"
                resource="https://asset.product-live.com/documents/5f0818d27ef6945715d9bbc7/438c33ddebfe1f29122433c82b18cd29abdb2815e2912445a6c234a14fd5abdc"
                md5="91f11681dfcf7397a9af32345399cd6e">
                https://asset.product-live.com/file-map/5f0818d27ef6945715d9bbc7_documents/redirect/438c33ddebfe1f29122433c82b18cd29abdb2815e2912445a6c234a14fd5abdc
            </Field>
        </Item>
    </Items>
</Table>
1
2
3
4
5
6
7
8
9
10
11
12
13
14
15
16
17
2
3
4
5
6
7
8
9
10
11
12
13
14
15
16
17
To use the Images API, you need to use the field property resource.
Key points to bear in mind are as follows:
- The
resourceattribute defines the public url for the original file uploaded. - The
file-hashproperty is the SHA256 of the file which is a unique value for each file.
When you are connecting Product-Live to your systems, using the hash of the file is the recommended approach. This file hash must be retain retain within the target system, ensuring avoidance of redundant file downloads.
Warning
Using the Image API to directly serve images to end users is not recommended. The Images API must not be used directly from a frontend or any other software that needs high read capabilities, you might reach the rate limit of the API. It's purpose is to be used with Data Factory to manipulate and transform assets before exposing them to your end users using a Content Delivery Network (CDN) such as CloudFront or Akamai.
To learn more regarding this subject,please refer to the Content Delivery Strategy section. For any questions, please contact our support team.
API reference
Asset URL uses the following format:
text
https://asset.product-live.com/documents/[unique account identifier]/[image unique hash]/[%option_name:%argument1:%argument2:...:argumentN (ex: resize:100:100)]1
Below is an example of an asset URL:
text
https://asset.product-live.com/documents/5e691db029e7a3fa64c3ca5e/253d50c545e31097e194a10ab6be4e902494bfce868debe1e195d70314d786df/rs:fit:2001

Available parameters
| Parameter | Description |
|---|---|
| Background | Fill the output image background with the specified color. |
| Crop | Define the area of the source image to be processed. |
| Enlarge | Enlarge the output image if output size is bigger than source image size. |
| Extend | Extend the output image if output size is bigger than source image size. |
| Fallback image url | Define the fallback image url, if the source image is not reachable. |
| Filename | Define a filename for the Content-Disposition header. |
| Format | Specify the output image format. |
| Height | Define the height of the output image. |
| Padding | Defines padding size using CSS-style syntax. |
| Page | When a source image supports pagination or animation, this option allows specifying the page to use it on. |
| Pixelate | Apply the pixelate filter to the resulting image. |
| Quality | Redefine quality of the resulting image. |
| Resize | This is a meta-option that defines the resizing type, width, height, enlarge, and extend. |
| Resizing type | Define how the API will resize the source image. |
| Rotate | Rotate the image on the specified angle. |
| Strip color profile | Transform the embedded color profile (ICC) to sRGB and remove it from the image. |
| Strip metadata | Strip the metadata on JPEG and WebP output images. |
| Trim | Remove surrounding background. |
| Video thumbnail second | Extract an image from a video at a specific time. |
| Watermark | Place a watermark on the output image. |
| Watermark text | Generate an image from the provided text and use it as a watermark. |
| Watermark url | Generate an image from the provided url and use it as a watermark. |
| Width | Define the width of the output image. |
Background
Fill the output image background with the specified color. Either using RGB or hex color code.
- Parameter name :
- Parameter alias :
- Parameter value :
Example
To put a red background:
/background:255:0:0/background:ff0000

Crop
Define the area of the source image to be processed (crop before resize).
- Parameter name :
- Parameter alias :
- Parameter value :
Example
To crop image from the top left corner:
/crop:400:400

To crop the image from the bottom right corner:
/crop:400:400:soea
Enlarge
Enlarge the output image if output size is bigger than source image size.
- Parameter name :
- Parameter alias :
- Parameter value :
Possible options:
- (same as true)
- (same as true)
- (default)
Example
To enlarge an image if it is smaller than the target size:
/width:10000/enlarge:true

Extend
Enxtend the output image if output size is bigger than source image size.
Gravity defines from wich point of the image it will be extended.Gravity (optional) accepts the same values as the gravity option, except sm. When gravity is not set, imgproxy will use ce gravity without offsets.
- Parameter name :
- Parameter alias :
- Parameter value :
Possible options:
- (same as true)
- (same as true)
- (default)
Example
To extend an image if it is smaller than the target size:
/width:10000/extend:true/width:10000/extend:true:nowe

Fallback image url
Define the fallback image url, if the source image is not reachable.
- Parameter name :
- Parameter alias :
- Parameter value :
Example
To define the base64-encoded fallback image url:
/fallback_image_url:aHR0cHM6Ly9hc3NldC5kZXYucHJvZHVjdC1saXZlLmNvbS9kb2N1bWVudHMvNjA4MTI3MzRjNzU0MDA5ZDk2MjEzZjgxL2RmMWY3M2M5NDliZjdiMTRkN2U1NTEwNTc3YTI1YjI0MTAzZmJlMjFlM2JlN2Q3YTQxNWM5NmFmNjZkNzg2ZG
Filename
Define a filename for the Content-Disposition header. When not specified, imgproxy will get the filename from the source url.
- Parameter name :
- Parameter alias :
- Parameter value :
Example
To rename the image file:
/filename:my_image

Format
Specify the output image format. Alias for the extension part of the URL.
- Parameter name :
- Parameter alias :
- Parameter value :
Possible options:
- When converting animated images
Example
To change image format to png:
/format:png
To convert a pdf to an image:
/format:jpg

Height
Define the height of the output image.
- Parameter name :
- Parameter alias :
- Parameter value :
Example
To change image height:
/height:500

Padding
Defines padding size using CSS-style syntax. All arguments are optional but at least one dimension must be set.Padded space is filled according to the background option.
- Parameter name :
- Parameter alias :
- Parameter value :
Possible options:
- - top padding (and for all other sides if they haven’t been explicitly set)
- - right padding (and left if it hasn’t been explicitly set)
- - bottom padding
- - left padding
Example
To add a 10 pixels padding all around the image:
/padding:10:10:10:10

Page
When a source image supports pagination (PDF, TIFF) or animation (GIF, WebP), this option allows specifying the page to use it on. Page numeration starts from zero.
- Parameter name :
- Parameter alias :
- Parameter value :
Pixelate
Apply the pixelate filter to the resulting image. The value of size defines individual pixel size.
- Parameter name :
- Parameter alias :
- Parameter value :
Example
To pixelate the image:
/pixelate:10
![]()
Quality
Redefine quality of the resulting image, as a percentage.
- Parameter name :
- Parameter alias :
- Parameter value :
Example
To redefine the generated image quality to 50 % of the original image:
/quality:50

Resize
This is a meta-option that defines the resizing type, width, height, enlarge, and extend. All arguments are optional and can be omitted to use their default values.
- Parameter name :
- Parameter alias :
- Parameter value :
Example
To resize the image and make it fit to a width of 500 pixels:
/resize:fit:500
To resize the image to 300x 500 pixels and ignore aspect ratio:
/resize:force:300:500

Resizing type
Define how the API will resize the source image.
- Parameter name :
- Parameter alias :
- Parameter value :
Possible options:
- : resizes the image while keeping aspect ratio to fit a given size. (default)
- : resizes the image while keeping aspect ratio to fill a given size and crops projecting parts.
- : the same as fill, but if the resized image is smaller than the requested size, imgproxy will crop the result to keep the requested aspect ratio.
- : resizes the image without keeping the aspect ratio.
- : if both source and resulting dimensions have the same orientation (portrait or landscape), imgproxy will use fill. Otherwise, it will use fit.
Example
To resize the image while keeping aspect ratio to fill a dimension of 300px x 500px and crops projecting parts:
/width:300/height:500/resizing_type:fill
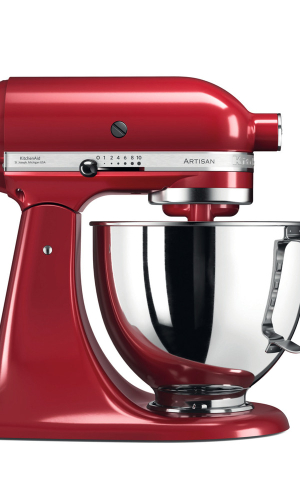
Rotate
Rotate the image on the specified angle. Note that only 0, 90, 180, 270, etc., degree angles are supported.
- Parameter name:
- Parameter alias:
- Parameter value:
Example
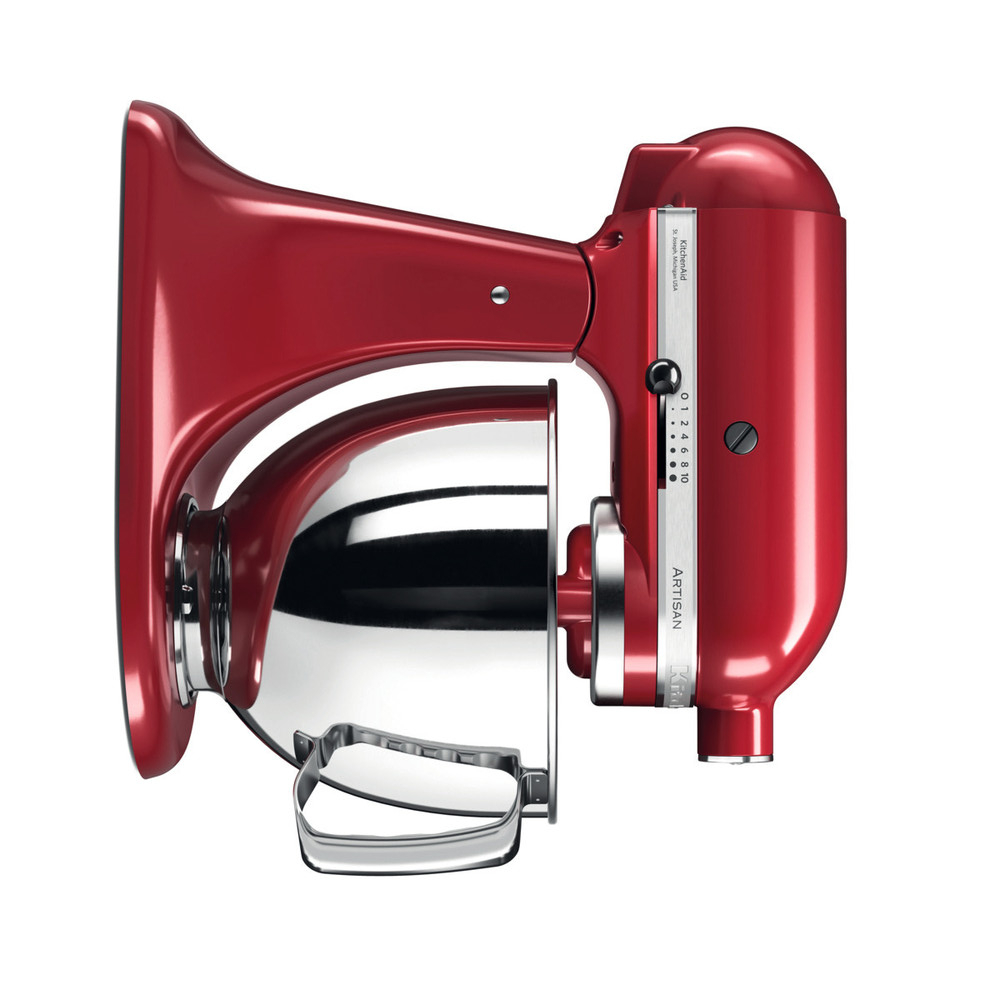
To rotate the image by 90 degres:
/rotate:90
Strip color profile
Transform the embedded color profile (ICC) to sRGB and remove it from the image.
- Parameter name :
- Parameter alias :
- Parameter value :
Possible options:
- (same as true)
- (same as true)
Example
To remove the color profile property from the image:
/strip_color_profile:true

Strip metadata
Strip the metadata (EXIF, IPTC, etc.) on JPEG and WebP output images. If no options are passed, metadata are not stripped.
- Parameter name :
- Parameter alias :
- Parameter value :
Possible options:
- (same as true)
- (same as true)
Example
To remove the image metadata (EXIF, IPTC, etc.):
/strip_metadata:true

Trim
Remove surrounding background.
- Parameter name :
- Parameter alias :
- Parameter value :
Possible options:
- : color similarity tolerance.
- : (optional) a hex-coded value of the color that needs to be cut off.
- : (optional) set to 1, t or true, imgproxy will cut only equal parts from left and right sides.
- : (optional) acts like equal_hor but for top/bottom sides
Example
To remove surrounding background:
/trim:100

Video thumbnail second
Extract an image from a video at a specific time.
- Parameter name :
- Parameter alias :
- Parameter value :
Example
To extract a thumbnail from a video at a specific second (original file):
/video_thumbnail_second:15

Watermark
Place a watermark on the output image. To be used in conjonction with the watermark text or url.
Final opacity is calculated like base_opacity * opacity
- Parameter name :
- Parameter alias :
- Parameter value :
Position possible options:
- : north (top edge)
- : south (bottom edge)
- : east (right edge)
- : west (left edge)
- : north-east (top-right corner)
- : north-west (top-left corner)
- : south-east (bottom-right corner)
- : south-west (bottom-left corner
- : center (default)
- : (optional) a floating-point number that defines the watermark size relative to the resultant image size. When set to 0 or when omitted, the watermark size won’t be changed.
Example
To place a watermark on the image:
/watermark:25

Watermark text
Generate an image from the provided text and use it as a watermark. Text is the Base64-encoded text of the custom watermark.
- Parameter name :
- Parameter alias :
- Parameter value :
Example
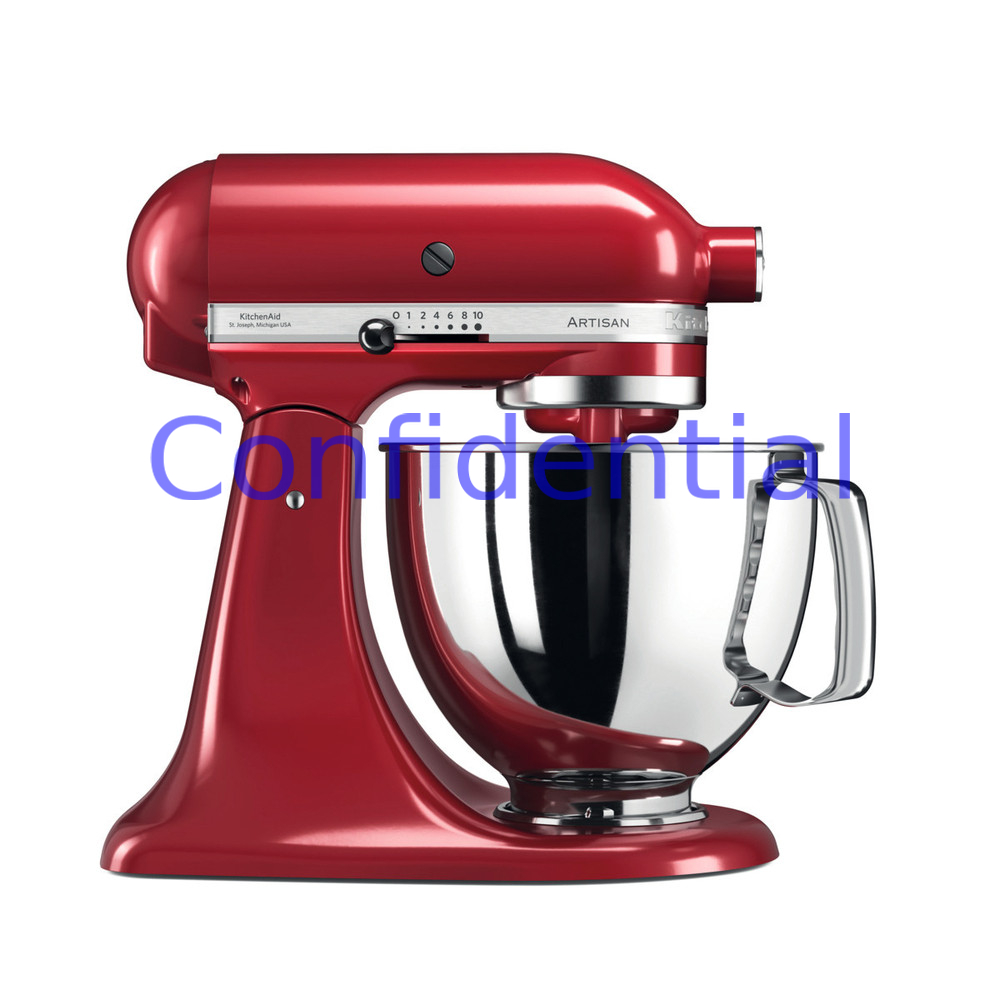
To place a watermark text on the image:
/wmt:PHNwYW4gZm9yZWdyb3VuZD0iYmx1ZSIgc2l6ZT0ieC1sYXJnZSI-Q29uZmlkZW50aWFsPC9zcGFuPg/wm:0.5:soea:150:500:0.7
Watermark url
Generate an image from the provided url and use it as a watermark. Url is the Base64-encoded of the custom watermark.
- Parameter name :
- Parameter alias :
- Parameter value :
Example
To place a watermark text on the image:
/watermark_url:aHR0cHM6Ly9hc3NldC5wcm9kLnByb2R1Y3QtbGl2ZS5jb20vZmlsZS1tYXAvNWU2OTFkYjAyOWU3YTNmYTY0YzNjYTVlX2RvY3VtZW50cy9yZWRpcmVjdC85OWFkNWE0OGY3MTVlNDQxZjgyNzc5ZjgyMmUwZjRhMTIwNTA0OWY5ODVkMDdkZjVjZTkyMGRiZDg4Yjc2ODYz/wm:0.5:soea:200:220:0.8

Width
Define the width of the output image.
- Parameter name :
- Parameter alias :
- Parameter value :
Example
To change image width:
/width:500

Images metadata
There are several types of metadata associated with images:
- IPTC Core & Extension: Image basic information, like copyright, author name, image name, etc.
- Exif: Information most often produced by digital cameras, such as date taken, GPS position, etc.
- XMP: This is the newest format. It allows the creation of custom metadata.
All the metadata is kept within the original file and present when it is exported. This metadata is transmitted to the resized image, unless you use the parameter strip_metadata.
If no options are passed, metadata are not stripped.
